Cursussen/Courses Codesnippets     Top 
B4A-budget - main layout


1. MainPage layout
In this tutorial you can learn how to make a household budget app. To keep it simple the app consists of a start page with 2 tabs and some totals information.
In the first tab the expenses are displayed and you can add more expenses with the "Add" button.
In the second tab the earnings are displayed and with the "Add" button you can add more earnings.
In the application bar there are 2 menu items: category and settings.
Every time you add an expense or an earning you can choose a date, type an amount, choose a category and type a description.
The lists and totals are refreshed after each action.
Let's start with a new B4XPages project called budget_tutorial.
Don't forget to type the project name in the Main Region Project Attributes after the ApplicationLabel. And change the name in the Project Build Configurations Package name to B4A.budget_tutorial
Click on the B4XMainPage tab in the IDE.
Now Go on to the MainPage layout.
Open the designer in the IDE (Designer / Open Designer) and open the standard layout file MainPage.
Delete the button.
Place 2 labels on the top of the screen: lblcurrency and lblbalance. Underneath that a tabhost view: th1.
Dimensions for the labels: lblcurrency width 150 height 40, lblbalance width 140 height 40.
The TabHost view th1 is fully anchored horizontally and vertically.
This is how it should look like:


2. tab1_layout
The first tab layout has a label with the text "Total" and a label lbltotalexpense to display the total for the expenses.
The lbltotalexpense has the following dimensions: width 140, height 30. The label1 has a width of 80. Underneath the labels the CustomListView clv1 is placed. This ListView is fully anchored horizontally and vertically.
You couldn't find the CustomListView? Did you forget to add the XUI Views library to the project?
In the lower section of the screen you can put a SwiftButton sbtn1. The dimensions of this button are: width 70 height 60.
This is how this layout looks like:


3. tab2_layout
This layout looks the same as the tab1_layout.
In the designer window you can save the tab1_layout as tab2_layout and change the names in the tab2_layout.
On the top there is a label with the text "Total" and a label lbltotalearning to display the total for the earnings.
The CustomListView clv2 is fully anchored horizontally and vertically.
In the lower section of the screen you can put a SwiftButton sbtn2. The dimensions of this button are: width 70 height 60.
This is how this layout looks like:


4. Fill the views
To make use of all the designer views you have to write some code. Did you generate the members from the layouts already? Yes? Good. No? Do it now then.
In the designer go to the menu Tools / Generate Members.
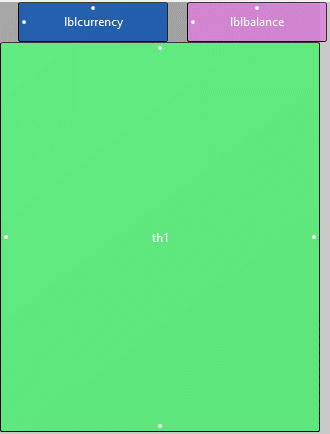
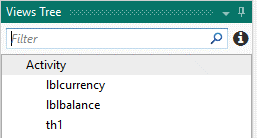
For the MainPage layout check the views lblbalance, lblcurrency and th1.
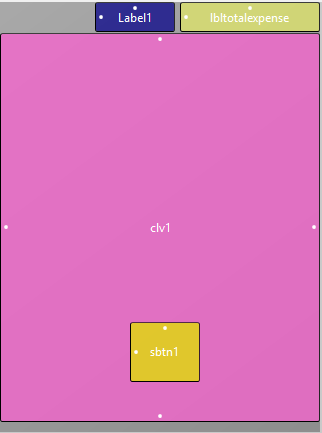
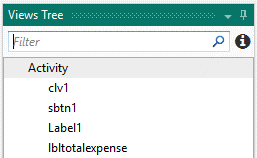
For the tab1_layout check the views clv1, lbltotalexpense and sbtn1. Also check the clv1 ItemClick event and the sbtn1 Click event.
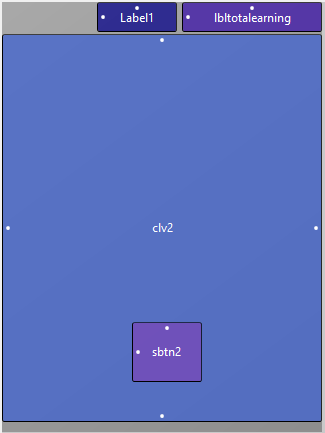
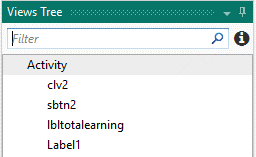
For the tab2_layout check the views clv2, lbltotalearning and sbtn2. Also check the clv2 ItemClick event and the sbtn2 Click event.
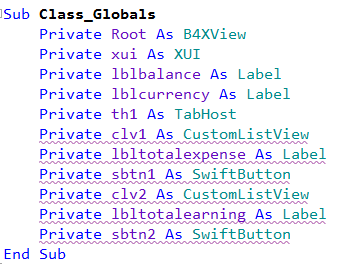
In the code editor from the B4XMainPage tab you can see that the members were added.
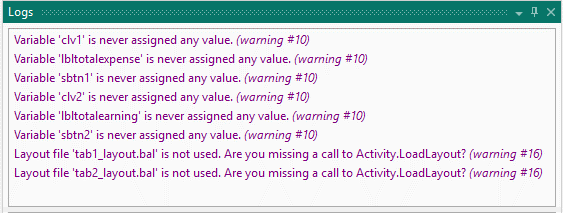
But in the Logs pane on the right we get warnings about these variables.
These warnings tell us what we have to do: assign values and use the layout files.
Delete the button1_click subroutine (the one with the Hello world!" message).
In the B4XPage_Created subroutine we add the TabHost (th1) layouts and fill the labels with some value.
Private Sub B4XPage_Created (Root1 As B4XView)
	Root = Root1
	Root.LoadLayout("MainPage")
	th1.AddTab("expenses","tab1_layout")
	th1.AddTab("earnings","tab2_layout")
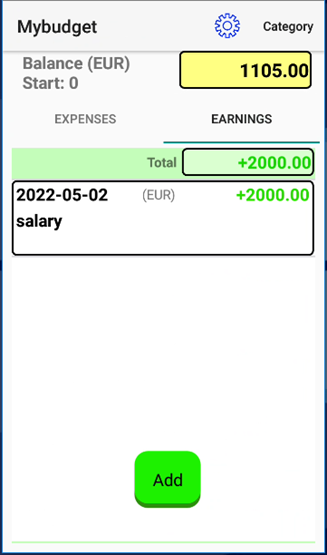
	lblcurrency.Text = "Balance (EUR)"
	lblbalance.Text = 0
	lbltotalexpense.Text = 0
	lbltotalearning.Text = 0
End Sub
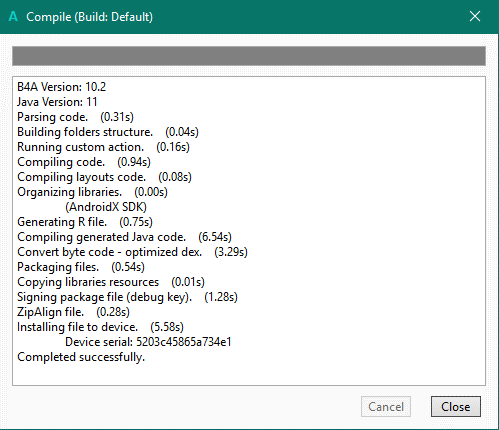
And by doing this the warnings are gone!
Every time the app starts we want the listviews (clv1 and clv2) to be filled with items.
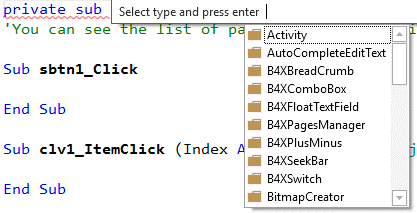
Create the page related event subroutine B4XPage_appear. Click above the message about this and type private sub and press the spacebar and the tab-key.
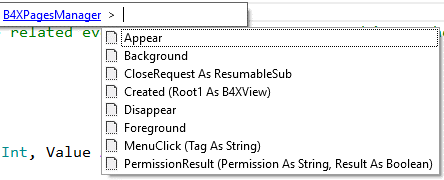
In the context menu click on B4XPagesManager and press enter. In the next context menu click on Appear and press enter.
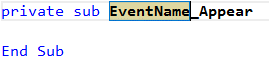
A subroutine is created. Replace the EventName with B4XPage and you have a B4XPage event subroutine.
In this B4XPage_appear subroutine we call 2 subroutines to fill the listviews.
Create the subroutines and write a for loop to add text items to the listview (clv1.AddTextItem, clv2.AddTextItem).
Here is the code:
private Sub B4XPage_Appear
	fill_clv1
	fill_clv2
End Sub 
'You can see the list of page related events in the B4XPagesManager object. The event name is B4XPage.
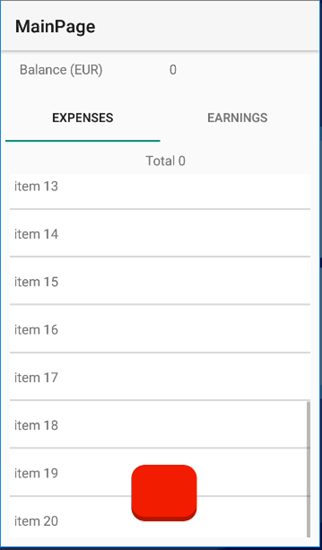
Private Sub fill_clv1
	For i = 1 To 20
		clv1.AddTextItem("item " & i,i)
	Next
End Sub

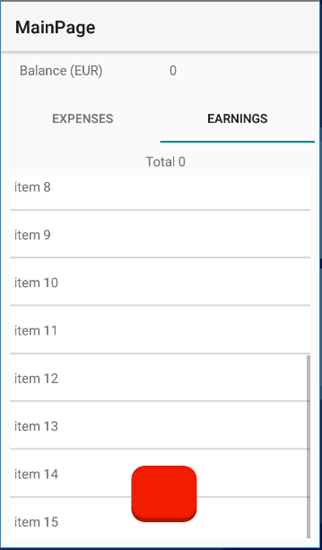
Private Sub fill_clv2
	For i = 1 To 15
		clv2.AddTextItem("item " & i,i)
	Next
End Sub


5. Compile and run
Now let's test the app sofar.
If your device is connected (via USB cable or WiFi) to your computer you can proceed.
Click on the run button in the toolbar or press the function key F5.
O.K. and this is how it looks like: