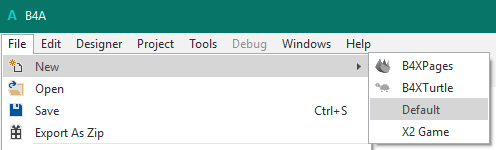
3. Activity code
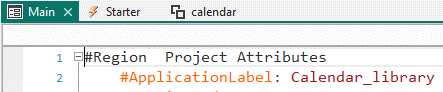
To test the code sofar you need to add some code to the Main tab in the IDE.
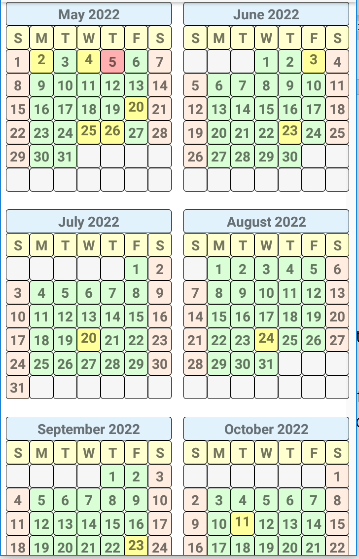
The Activity_Create method is used to get the month of May on the display. In the Globals subroutine you can declare the variables (sv1 and cal). The cal variable is of the type calendar (which is the class we added in the project)!
Sub Globals
	'These global variables will be redeclared each time the activity is created.
	Private sv1 As ScrollView
	Private cal As calendar
End Sub
Sub Activity_Create(FirstTime As Boolean)
	Activity.LoadLayout("Layout")
	sv1.Initialize(2000dip)
	sv1.Panel.RemoveAllViews
	cal.Initialize(Me,"cal")
	Private pnl As Panel
	pnl.Initialize("pnl")
	pnl = cal.set_month_panel(5,2022,"")
	sv1.Panel.AddView(pnl,0dip,0dip,pnl.Width,pnl.Height)
	Activity.AddView(sv1,0dip,0dip,pnl.Width,pnl.Height)
End Sub
The sv1 ScrollView is initialized at a height of 2000dip. You can change this later in the code.
You call the subroutine for the month panel with cal.set_month_panel(mnth, yr, pnlsize). The set_month_panel is a method from the class calendar (variable cal).
Add the month panel to the scrollview and the scrollview to the activity and you should get the month of May displayed. (TIP: use a For loop and you can show a whole year)
Next we need to add some code to use the label click event of a day label.
In the Class_Globals we need some variables:
Private mCallback As Object
Private mEventname As String
Public lblticks As Long
The public subroutine Initialize is used to be able to initialize the calendar object.
Public Sub Initialize(Callback As Object, Eventname As String)
	mCallback = Callback
	mEventname = Eventname
End Sub
And then change the lblday_Click subroutine:
Public Sub lblday_Click
	Dim l As Label = Sender
	lblticks = l.tag
	If xui.SubExists(mCallback,mEventname & "_dayclick",2) Then
		CallSubDelayed(mCallback,mEventname & "_dayclick")
	End If
End Sub
The variable lblticks is declared public and is available in all routines that use the calendar object.
In the Main module you need to provide a subroutine with the name cal_dayclick (make sure the underscore is there!) below the other subroutines:
Public Sub cal_dayclick
Dim dayticks As Long = cal.lblticks
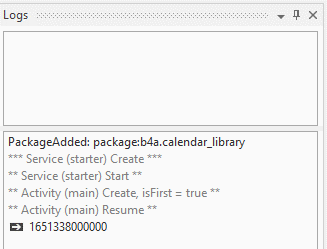
Log(dayticks) ' date ticks value
End Sub
Now you can test the project. A click on a daynumber label should show the date ticks value in the log pane.